HOW TO CHANGE A BATHROOM FAUCET
Changing your bathroom faucet is not only sometimes practical, but it can also add a nice feature to your bathroom. While it may seem like a daunting task, replacing a bathroom faucet is a manageable DIY project that can give your bathroom a fresh look and improve its functionality. In this comprehensive guide, we will walk you through the steps to change your bathroom faucet, from gathering the necessary tools and supplies to installing the new faucet properly.
Tools and supplies required
Before you begin, it's essential to gather the tools and supplies you'll need for the job. Here's a list to ensure you have everything on hand:
- Adjustable wrench
- New faucet
- Scrubber or cleaning product
- Towel
- Bucket
- Rag or cloth
With these tools and supplies in place, you're ready to tackle the task of changing your bathroom faucet.
Clear the area and shut off the water supply
The first step is to prepare your workspace. Clear out everything under the sink to make room for your work area. Place a towel or cloth below the pipes to protect against water damage and position a bucket under the faucet to catch any drips.
Next, you need to shut off the water supply to the bathroom sink. Usually, you'll find the shut-off valve under the sink inside the vanity. Turn the valve clockwise to stop the water flow to the faucet. In some cases, you may have a different plumbing setup with two separate valves for hot and cold water. If that's the case, turn both valves off to ensure no water flows to the faucet.
To release any remaining water pressure and prevent leaks during the replacement process, turn on the faucet taps until no water remains in the lines.
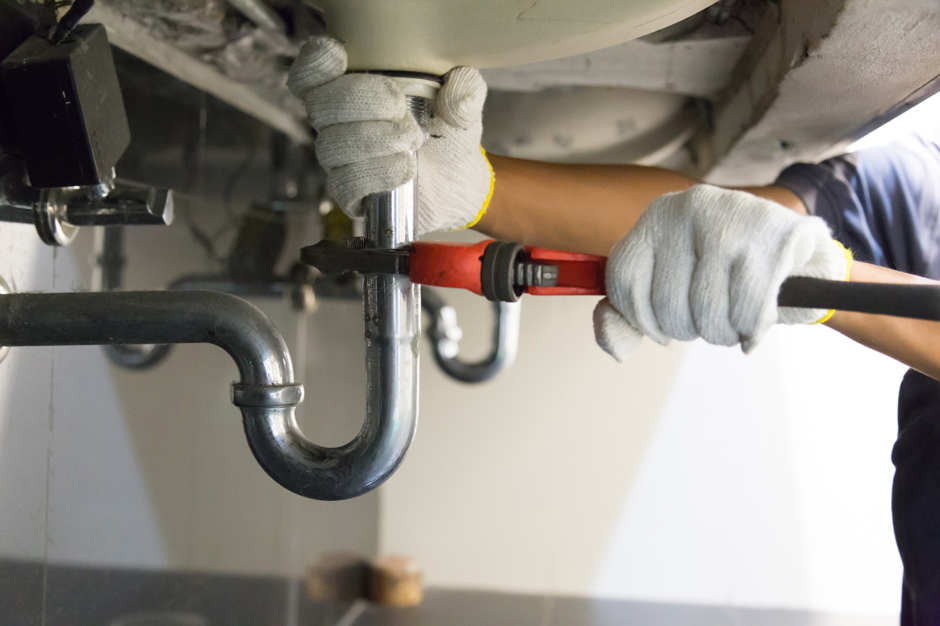
Disconnect the supply tubes
With the water supply turned off, it's time to disconnect the supply tubes that connect the existing faucet to the water supply. Use your adjustable wrench to loosen the nuts securing the hoses together. Once they are loose, you can remove the nuts by hand.
Many faucets are connected to the sink via locknuts. To remove these, use your wrench to loosen them, and then you can disconnect the faucet from the tailpieces.
Once you've successfully disconnected the faucet, carefully remove it from the mounting hole and set it aside.
Prepare for the new faucet
Now that the old faucet is removed, it's time to prepare for the new one. Start by cleaning the mounting holes around the sink and the area where the old faucet was attached. Ensure that everything is dry before connecting the new faucet.
Selecting the new faucet
Before purchasing the new faucet, you need to determine what type of faucet you have or need. Common types of bathroom faucets include:
Single-hole faucet: This type has one hole and typically comes as a single piece with a single handle to control both hot and cold water.
Center-set faucet (4"): Center-set faucets have three holes with separate handles to control hot and cold water. The distance between the outer holes is typically 4 inches.
Center-set faucet (8"): Similar to the 4" center-set faucet, this type also has three holes with separate handles, but the distance between the outer holes is 8 inches.
Wall-mount faucet: These faucets are installed on the wall rather than on the sink or countertop.
Once you've determined the type of faucet you need, it's time to make your purchase. Ensure that you select the right faucet for your sink and that it matches your bathroom's style and decor.
Installing the new faucet
Installing the new faucet is the final step in this process. Follow the manufacturer's instructions carefully to ensure a proper installation. Typically, the steps will involve:
- Placing the new faucet through the mounting hole, ensuring it aligns correctly.
- Tightening the washer and mounting nut onto the tailpiece to secure the faucet in place.
- Connecting the flexible water-supply tubes to the tailpieces and tightening them using your wrench.
- Turning on the water supply valves under the sink to restore water flow to the faucet.
Congratulations, you've successfully changed your bathroom faucet! If you encounter any issues or need replacement parts, consider visiting a bathroom faucet store for assistance.
Before beginning the job, remember to turn off the water supply to prevent leaks, and after completing the installation, turn the water back on to clear any potential debris in the pipes from the replacement process.
Changing your bathroom faucet can be a satisfying DIY project that not only enhances the functionality of your bathroom but also adds a touch of style and freshness to the space. With the right tools, supplies, and guidance, you can achieve this upgrade with ease. Enjoy your newly installed bathroom faucet!
